
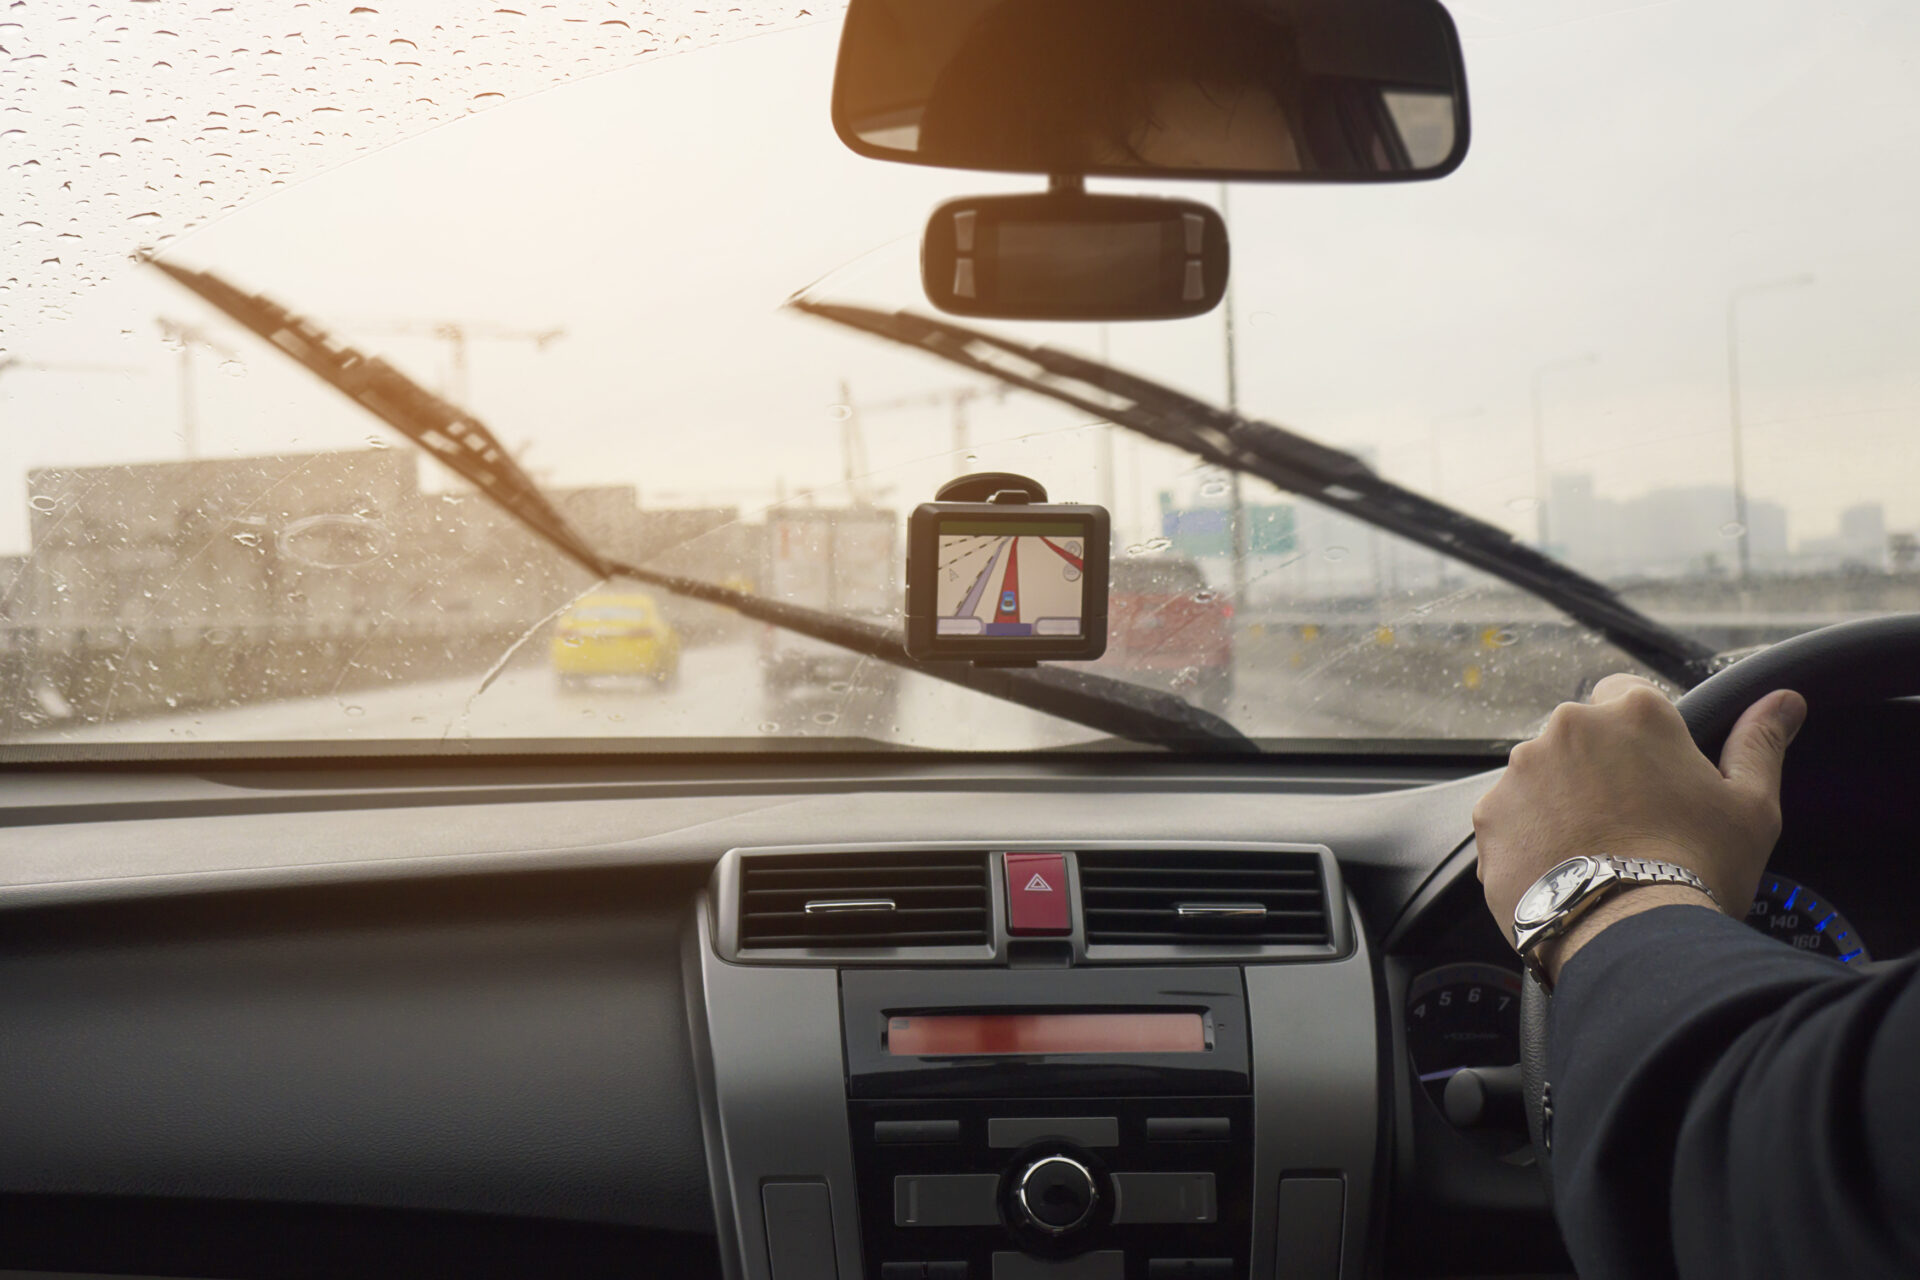

Have you ever been in a fender bender with no way to prove you weren’t at fault? Or wish you had video evidence to back up your claim in an accident? Maybe you’ve had that heart-stopping moment where someone cuts you off, and you wish you had a replay button for real life. A dash cam can be your silent witness, offering peace of mind, security, and even potential insurance discounts.
But let’s be real—paying a professional to install one? That can cost as much as the dash cam itself! The good news? You can install it yourself with just a little know-how (and maybe a few choice words when tucking those wires). No more guesswork—this ultimate DIY dash cam installation guide will walk you through the process step by step.
Why Install a Dash Cam?
Besides catching the occasional meteor shower or a deer breakdancing on ice, dash cams offer numerous benefits:
- Accident Evidence: Captures real-time footage in case of an accident (because “it wasn’t my fault” isn’t always enough).
- Insurance Benefits: Some insurers offer discounts for having a dash cam.
- Prevent Fraud: Protects you from staged accidents and false claims—no more getting scammed by “falling pedestrians” in parking lots.
- Monitor Your Vehicle: Useful for parents, fleet owners, and anyone who wants to keep an eye on their car when they’re not around.
Tools & Materials Needed
- Dash cam kit (including camera, mounting bracket, and power cable)
- MicroSD card (if not included, Class 10 or higher recommended)
- Trim removal tool (optional but saves your fingernails)
- Fuse tap kit (for hardwiring, if you want a cleaner look)
- Cable clips or adhesive mounts (because nobody likes dangling wires)
- Electrical tape or zip ties (your car isn’t a jungle—no wild cables allowed)
- Multimeter (for checking fuse connections, aka feeling like a pro mechanic)
Get a reliable hardwiring kit: Dash Cam Hardwiring Kits on Amazon
Step 1: Choose the Right Placement
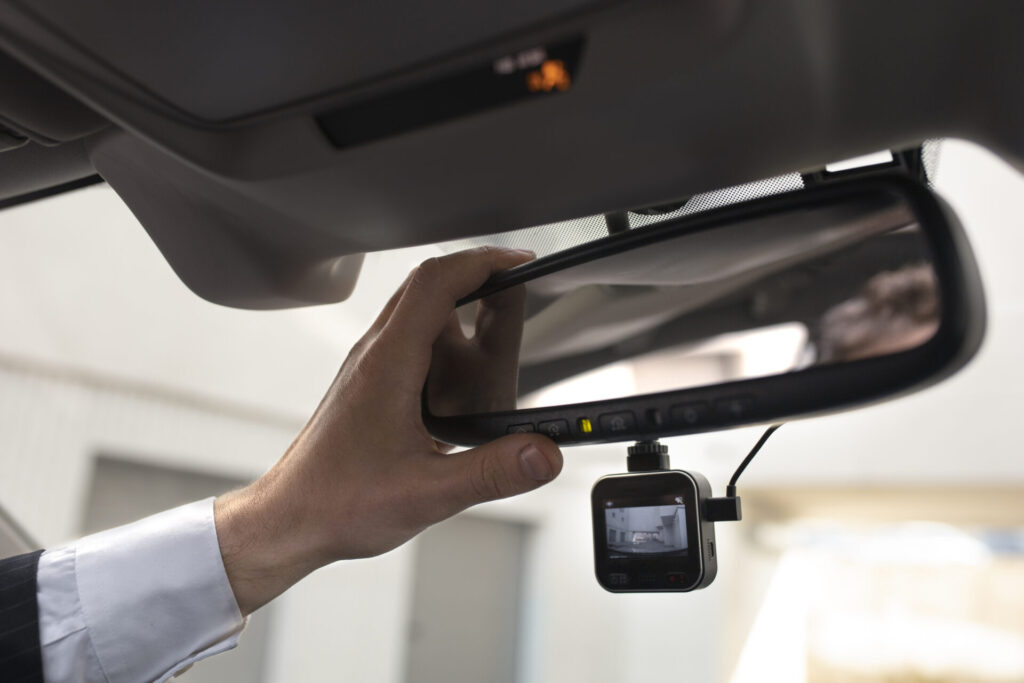
For the best footage, mount the dash cam behind your rearview mirror, ensuring it does not obstruct your view. This position offers a clear, centered perspective and keeps the camera discreet.
- Front Camera: Mount in the center, slightly below the tinted sun strip if your windshield has one.
- Rear Camera : Position at the top center of the rear windshield.
Pro Tip: Test different angles before securing the mount permanently! Otherwise, you might end up recording nothing but your dashboard.
Step 2: Mount the Dash Cam
- Clean the surface with an alcohol wipe for better adhesion (because nobody likes a camera that falls mid-drive).
- Attach the mount (screw-on or adhesive) and press firmly into place.
- Adjust the camera angle to capture the road ahead clearly.
Pro Tip: If using an adhesive mount, let it sit for a few minutes before attaching the camera for a stronger hold. Rushing it could result in your camera taking a dive mid-turn.
Step 3: Powering Your Dash Cam
You have three power options:
1. Using the Cigarette Lighter Socket (Easiest Method)
- Plug the power adapter into the 12V socket.
- Tuck the cable along the windshield and down the A-pillar.
- Route the cable neatly to avoid distractions (or your passenger playing jump rope with it).
2. Using the Fuse Box (Best for Parking Mode)
- Locate the fuse box (usually under the dashboard or in the engine bay).
- Use a fuse tap to connect the dash cam’s power cable to an “ACC” fuse (turns on/off with the ignition).
- Connect the ground wire to a metal bolt/frame.
- Test the connection using a multimeter.
3. Hardwiring via OBD-II Port
- Plug the adapter into the OBD-II port (usually under the steering wheel).
- Provides continuous power with auto shut-off to prevent battery drain (because no one wants to trade a dead battery for security footage).
Step 4: Routing & Hiding the Wires
Messy wires can be distracting and look unprofessional. Here’s how to keep them neat:
- Tuck cables under the headliner (use a trim tool if needed—unless you have magician-level finger skills).
- Run the wire along the windshield edge and down the A-pillar.
- Secure the cable with adhesive clips or zip ties (no spaghetti wiring allowed).
- Ensure the wires don’t block airbags—safety first!
Final Thoughts
Congratulations! You just installed your dash cam—without paying someone to do it. You saved money, avoided questionable wiring jobs, and now have an extra set of digital eyes on the road. Whether you’re protecting yourself from accidents, preventing fraud, or just want to record the occasional ridiculous driver, your dash cam is now your trusty co-pilot.
So grab a coffee, admire your handiwork, and drive with confidence—your car’s security just got an upgrade!