
Have you ever wanted to create your own furniture but felt intimidated by the process? Imagine the satisfaction of building a custom bookshelf, table, or storage crate with your own hands—without breaking the bank. Whether you’re looking to add a personal touch to your home or simply enjoy a fun DIY project, making your own furniture is easier than you think. In this guide, we’ll walk through the materials, steps, and tips to help you craft these essential pieces with confidence.
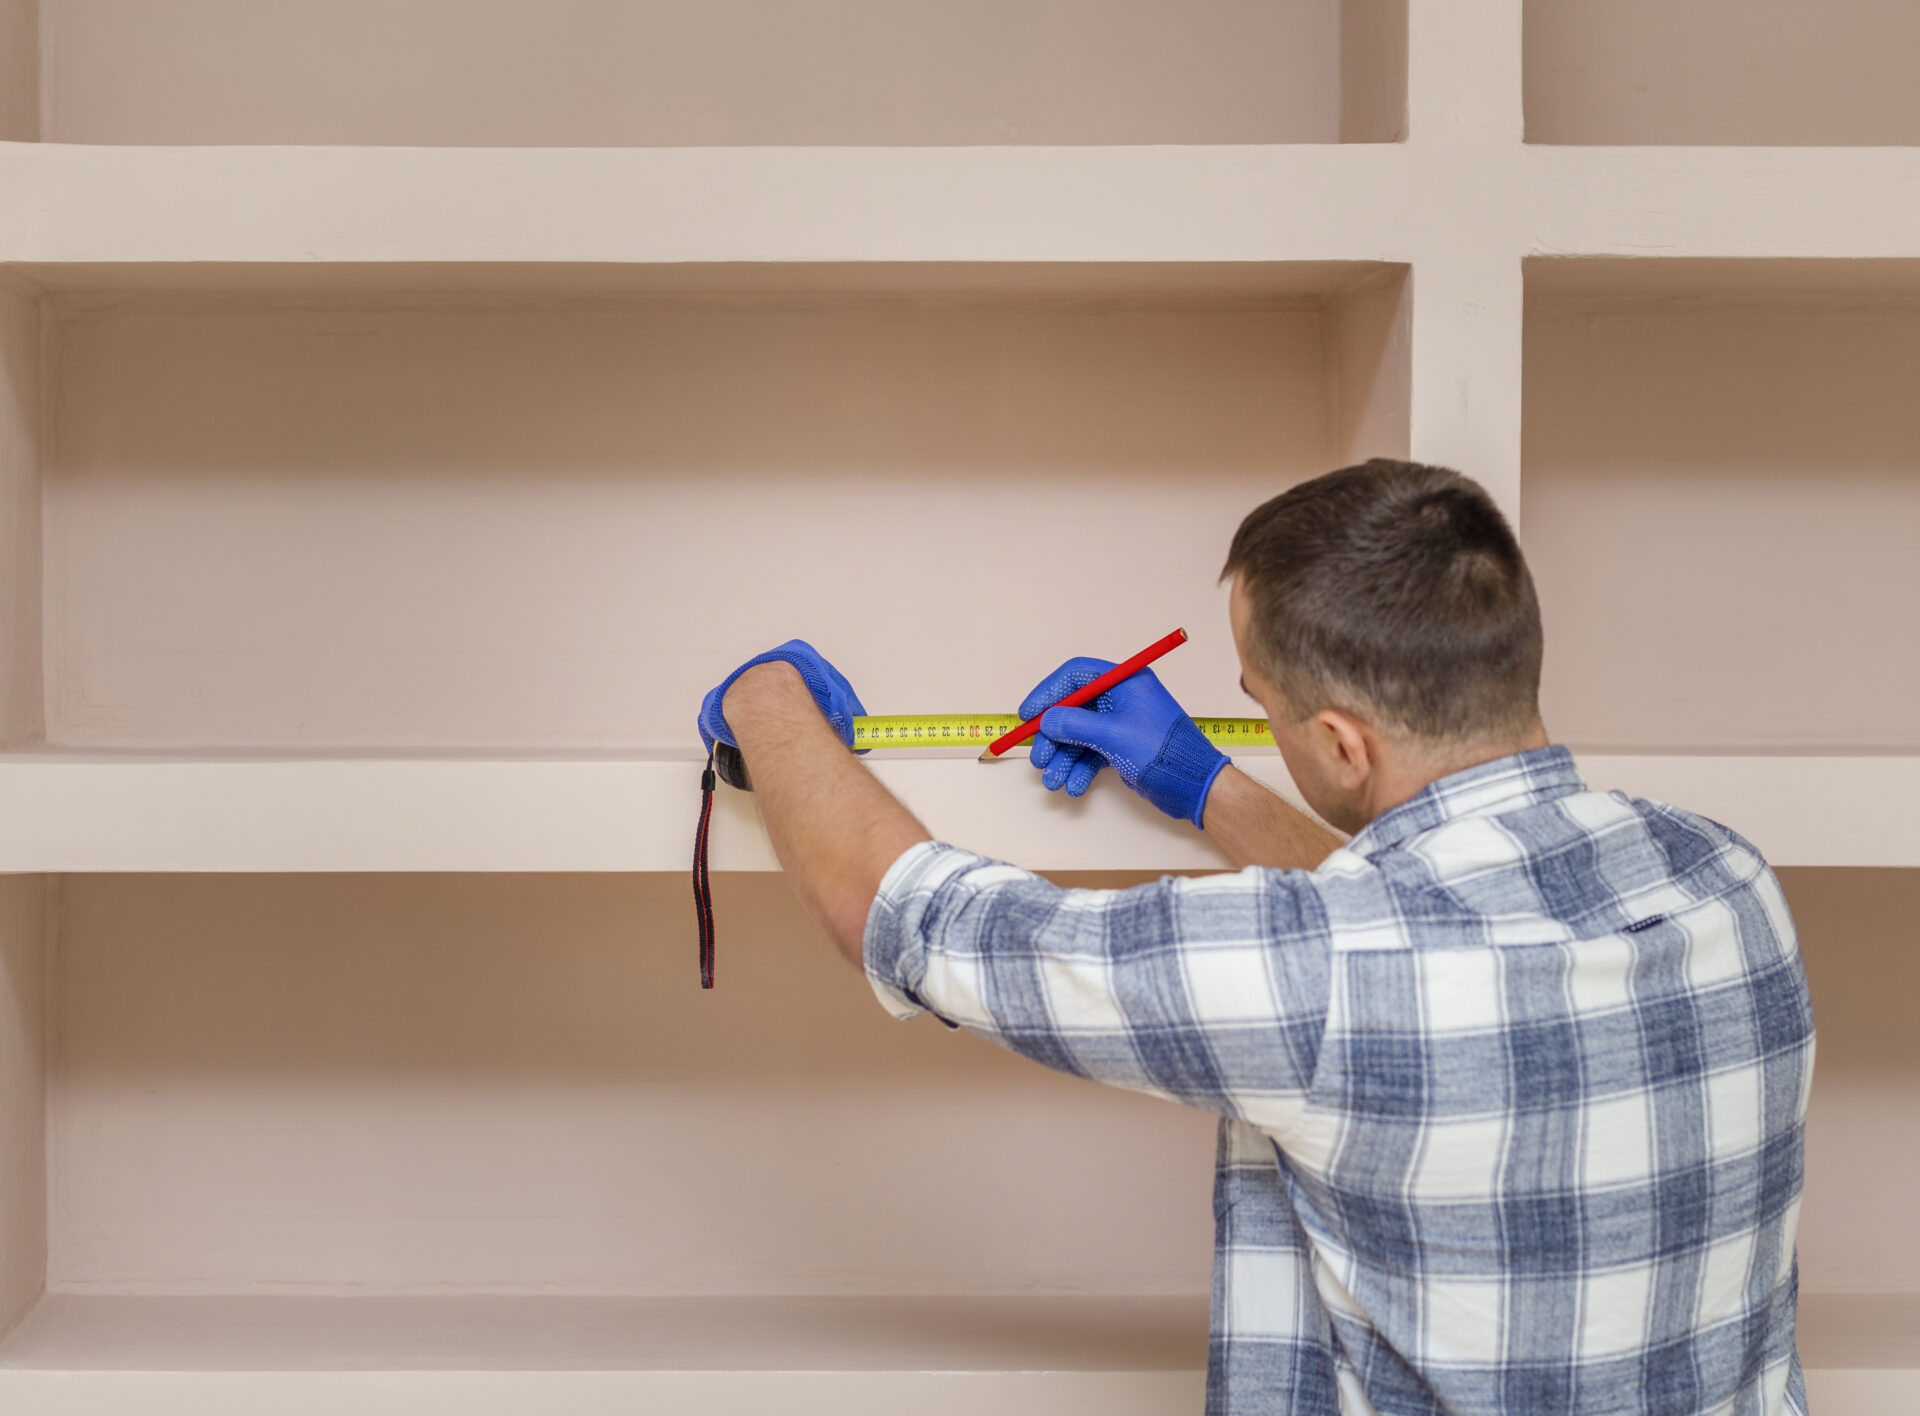
1. DIY Bookshelf
A bookshelf is a functional and stylish addition to any home, but store-bought options can be expensive and may not fit your space perfectly. By building your own, you get the ideal size, material, and finish while saving money.
Materials Needed:
- Plywood or solid wood planks (for shelves and sides)
- Wood screws or nails
- Wood glue
- Measuring tape
- Saw (circular or hand saw)
- Drill
- Sandpaper
- Paint or stain (optional)
Step-by-Step Instructions:
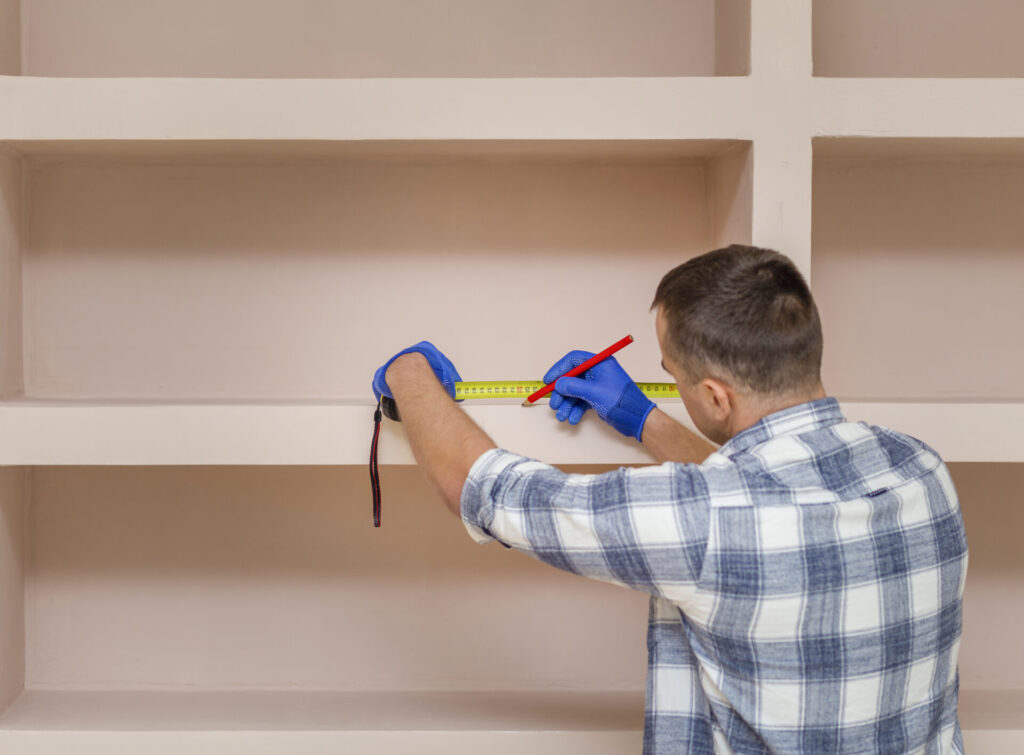
- Measure and Cut: Decide on the size of your bookshelf and cut the wood accordingly.
- Assemble the Frame: Attach the sides to the top and bottom panels using screws and wood glue.
- Install Shelves: Space them evenly and secure them with screws or nails.
- Sand and Finish: Smooth rough edges and apply paint or stain for a polished look.
- Secure to Wall (if needed): For taller bookshelves, attach them to the wall for stability and safety.
2. DIY Table
A sturdy table is a must-have, whether it’s for work, dining, or decorative purposes. Instead of spending hundreds, create one tailored to your space and style.
Materials Needed:
- Solid wood planks or plywood (tabletop)
- 2×4 wood pieces (legs and supports)
- Screws and wood glue
- Measuring tape
- Saw
- Drill
- Sandpaper
- Paint or stain (optional)
Step-by-Step Instructions:
- Cut the Tabletop and Legs: Decide on the table’s dimensions and cut the materials accordingly.
- Assemble the Frame: Attach the legs to the tabletop using wood screws and brackets for stability.
- Reinforce with Supports: Add horizontal support beams between the legs to prevent wobbling.
- Sand and Finish: Smooth all surfaces and apply stain or paint to match your décor.
3. DIY Storage Crate
A wooden storage crate is perfect for organizing books, toys, or tools. It helps declutter your space while adding a rustic charm to your home decor. Available in various sizes, they can be stacked, used as shelves, or for under-bed storage. Customize them with paint or stains to match your style. Durable and eco-friendly, they offer a sustainable storage solution. Ideal for any room, they keep your space neat and stylish.
Materials Needed:
- Wooden slats or pallet wood
- Nails or screws
- Wood glue
- Measuring tape
- Saw
- Drill
- Sandpaper
- Handles (optional)
Step-by-Step Instructions:
- Cut the Wood: Determine the size of your crate and cut the wood accordingly.
- Assemble the Sides and Bottom: Nail or screw the side panels together and attach the bottom slats.
- Add Reinforcement: Secure the corners with additional nails or wood glue.
- Sand and Finish: Smooth the edges and paint or stain the crate as desired.
- Attach Handles (Optional): Install rope or metal handles for easy carrying.
Building simple furniture allows you to customize your home, save money, and improve DIY skills. Whether it’s a bookshelf, table, or storage crate, these beginner-friendly projects offer practical solutions and creative satisfaction.
Takeaways
Start Small: Begin with a storage crate before tackling larger furniture.
Use Quality Materials: Invest in sturdy wood and proper screws for durability.
Double-Check Measurements: Accurate cuts prevent waste and misalignment.
Prioritize Safety: Wear protective gear, secure materials with clamps, and work in a well-ventilated area.
These projects are rewarding, cost-effective, and great for honing DIY skills. So grab your tools, get creative, and start building!